This writeup will cover setting up a Jekyll site in GitHub Pages and then (optional!) deploying it with GitHub Actions so you can use custom plugins.
My personal blog website was built using samarsault’s texture theme for Jekyll. I chose Jekyll because there were many free, minimalist themes that I liked. I also thought that the free GitHub Pages hosting would be easier than dealing with a cPanel backend, but I was most definitely wrong about that - continue reading for a hands-on, involved method of creating a site for your blog!
Setting Up Your Site
I won’t go into details here because good guides can be easily found online, but I’ll link the pages I found most useful. You’ll likely want to choose a Jekyll theme before you get started - I found the biggest collection of free ones on jekyll-themes.com.
Steps
- Installation link for Jekyll on Windows via RubyInstaller.
-
Guide I used to run Jekyll locally. I did run into some issues with the guide:
- Silly problem that cost me some time, but when typing
jekyll new, you also need to make a folder to put it in, likejekyll new blog. - Fixed a problem I ran into when trying to run on localhost: Stack Overflow post
- When running
bundle upgradeagain, I ran an issue where the “bundler could not find compatible versions for gem” and this fixed it: Stack Overflow post
- Silly problem that cost me some time, but when typing
- Don’t remember exactly which of these guides helped me use a custom domain on GitHub Pages (i.e. https://ebristow.com not https://erin-bristow.github.io), but think it was one of these: Medium link or freeCodeCamp link.
- Deploy with GitHub Actions (see Custom Plugins section). Troubleshooting this was one of the more difficult things I had to do.
Pre-Requisite Knowledge
You’ll need familiarity with Git to successfully create a site on GitHub Pages. Knowing how to pull, push, and commit should be enough, but understanding how branches work is also useful. Commands for viewing all branches (git branch -a), switching to another branch (git checkout <branch>), and deleting a branch locally (git branch -d <branch>) may be needed.
To write posts for your site, you’ll want to learn Markdown.
Other Notes
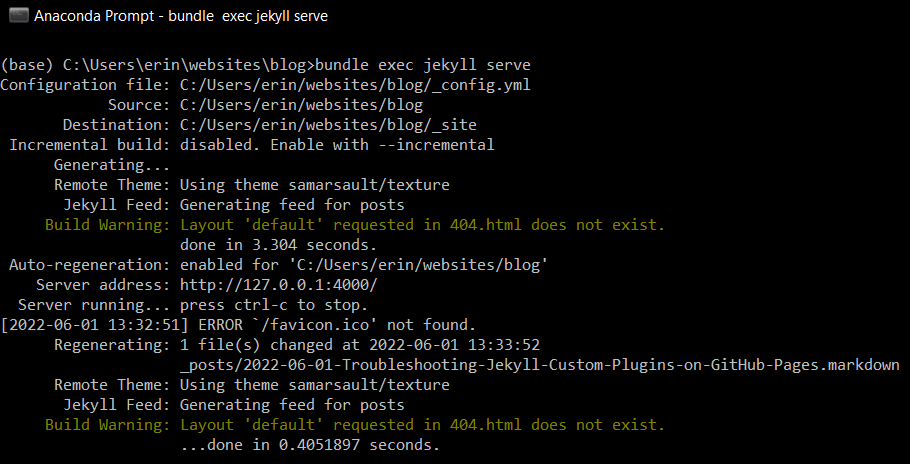
Deploying your Jekyll site locally within a command line:
- If you add a new gem (like
gem "jekyll-target-blank) to the Gemfile you’ll need to dobundle installto fetch the new gem - When you’ve made changes to
_config.yml, you’ll need to runbundle exec jekyll serveagain to re-build your site - If you make changes to a Markdown blog post when running the site locally, you don’t need to re-build your site. Just save the markdown file and refresh the locally running site within the browser. In the command line above, see how this blog post “regenerates” when I refresh the browser.
For editing and configuring your site, I recommend referencing the Jekyll Configuration Docs.
Custom Plugins
I wanted to use custom plugins (notably, jekyll-target-blank), but GitHub Pages doesn’t allow custom plugins by default, citing security concerns.
For more control over your site, including the use of custom plugins, you can deploy your Jekyll site to GitHub Pages with GitHub Actions. Below are a few issues I ran into when following the linked Jekyll documentation for GitHub Actions. Hopefully this can help you with troubleshooting your own site.
-
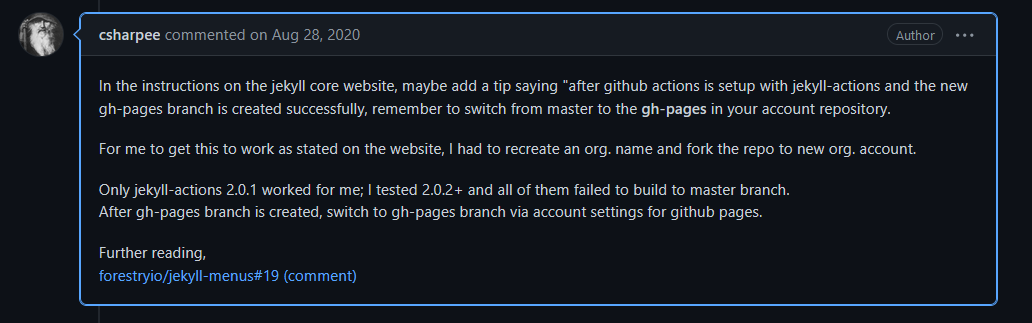
After the gh-pages branch is created, you must switch to the gh-pages branch in the settings for your GitHub Pages repository.
-
In
github-pages.yml, you need to includetarget_branch: gh-pagesbut that’s the only line I had to change in the documentation’s providedgithub-pages.ymlfile.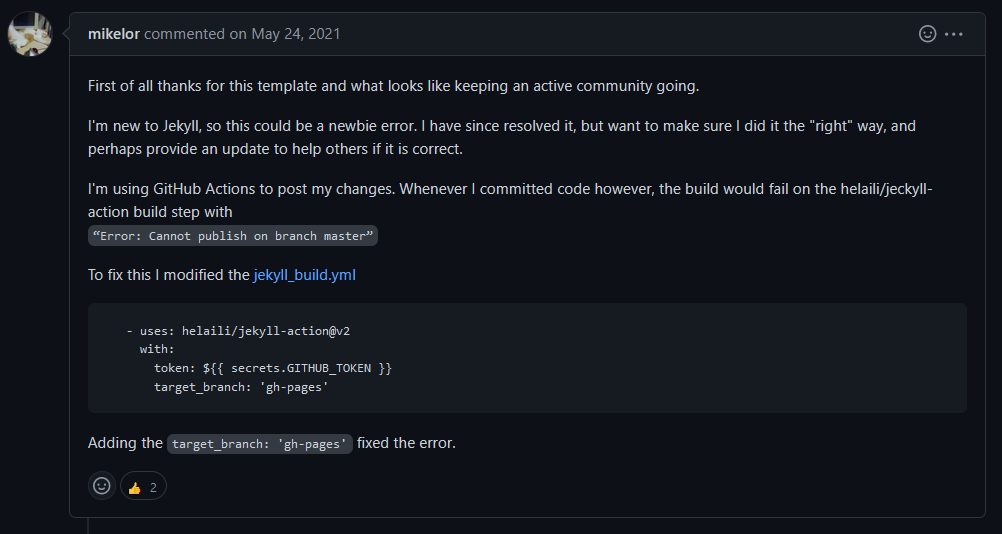
-
There can be issues with custom domains. The CNAME record will not be automatically placed in the new gh-pages branch, and you cannot manually create the CNAME record file in the gh-pages branch because it will be overwritten every time your site is rebuilt. In your Jekyll
_config.xmlfile you need to addinclude: CNAMEto force Jekyll to include that record in the gh-pages branch.
A final note: Even though GitHub pages is now serving your site off of the gh-pages branch and not master, you still need to be pushing to your master branch. When you push to your master branch, GitHub Actions will automatically build the site in the gh-pages branch. Do not edit the gh-pages branch directly because your changes will not persist when your site is rebuilt.